
Installing vinyl fencing can transform your property, providing not only security and privacy but also enhancing its aesthetic appeal. Whether you’re considering professional installation or a DIY project, this comprehensive guide will help you make an informed decision and ensure a successful vinyl fence installation.
UNDERSTANDING VINYL FENCING
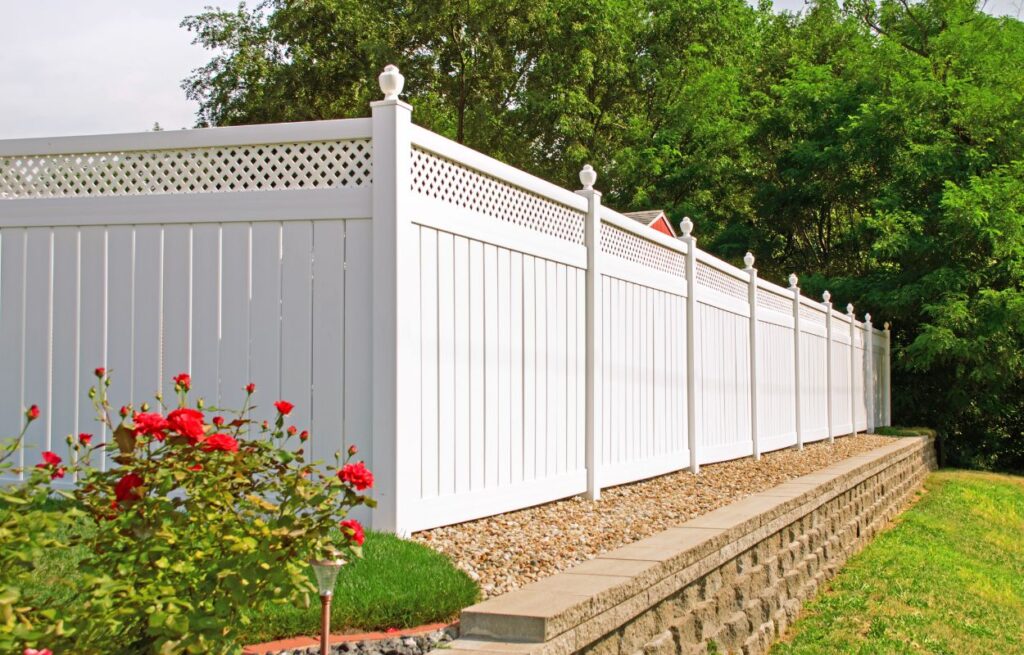
Vinyl fencing is a popular choice for homeowners due to its durability, low maintenance requirements, and versatile design options. It is made from PVC (polyvinyl chloride) material, which is known for its resistance to rot, decay, and insect infestations. Vinyl fences are available in various styles, including picket, privacy, semi-privacy, and more, making it suitable for different purposes and aesthetics.
PROFESSIONAL INSTALLATION
Hiring a Pro: When opting for professional installation, it’s essential to choose a reputable fencing contractor. Look for references, reviews, and quotes from multiple contractors to ensure you’re getting the best value for your money.
Site Inspection: A professional installer will conduct a thorough site inspection to determine the appropriate placement and measurements for your vinyl fence. This step is crucial for a seamless and visually appealing installation.
Proper Foundation: Professional installers will ensure a sturdy foundation for your vinyl fence. This typically involves digging post holes, setting posts in concrete, and allowing them to cure. A solid foundation is key to the fence’s long-term stability.
Precise Alignment: Professionals have the expertise to ensure precise alignment of fence panels and posts, resulting in a straight and even appearance. They will also address any slope or terrain challenges during installation.
DIY INSTALLATION
Gathering Supplies: If you’re a DIY enthusiast, start by gathering the necessary supplies, including vinyl fence panels, posts, gate hardware, concrete mix, and tools such as a level, saw, and measuring tape.
Planning and Layout: Careful planning and layout are essential for a successful DIY installation. Measure and mark the fence line, ensuring it’s straight and level. Space your fence posts evenly according to the panel width.
Digging Post Holes: Dig post holes using a post hole digger or auger. Ensure the holes are deep enough and spaced according to your fence panel dimensions. Use a level to check for proper alignment.
Setting Posts: Mix and pour concrete into the post holes, placing the vinyl fence posts and using a level to ensure they are plumb. Allow the concrete to cure before attaching the fence panels.
Installing vinyl fencing can be a rewarding project, whether you choose professional installation or the DIY route. Professionals bring experience and precision to the job, while DIY enthusiasts can save money and take pride in their work. Whichever option you select, remember to follow local regulations, maintain your vinyl fence properly, and enjoy the beauty and functionality it adds to your property.
Incorporating vinyl fencing into your property doesn’t have to be a daunting task. By understanding the process and considering your installation options, you can have a durable and attractive vinyl fence that complements your home and enhances your outdoor space. So, whether you’re looking to hire a professional or roll up your sleeves for a DIY project, your new vinyl fence is within reach.